Flutter, an open source framework built and maintained by Google, allows developers to build cross platform applications initially for Android and iOS, and now web, Windows, MacOS, and Linux with one codebase. It uses an Object Orientated Programming language called Dart.
In this blog post, you will learn how to set up the flutter environment, create a new project, understand the project structure, basic Flutter widgets, and how to run your app.
Set up environment
Before you dive into building your app you will need to set up the environment
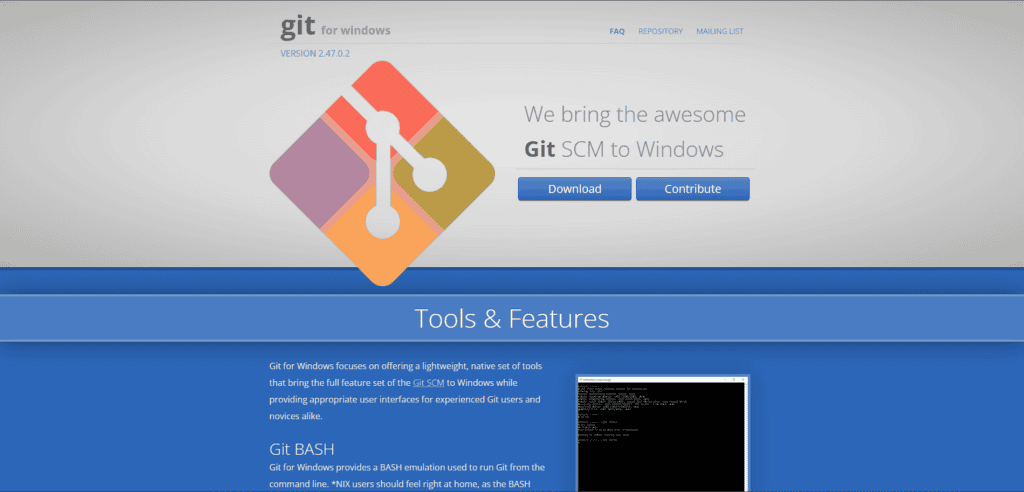
You will need to download and install git for Windows or Mac depending on which operating system you’re using.
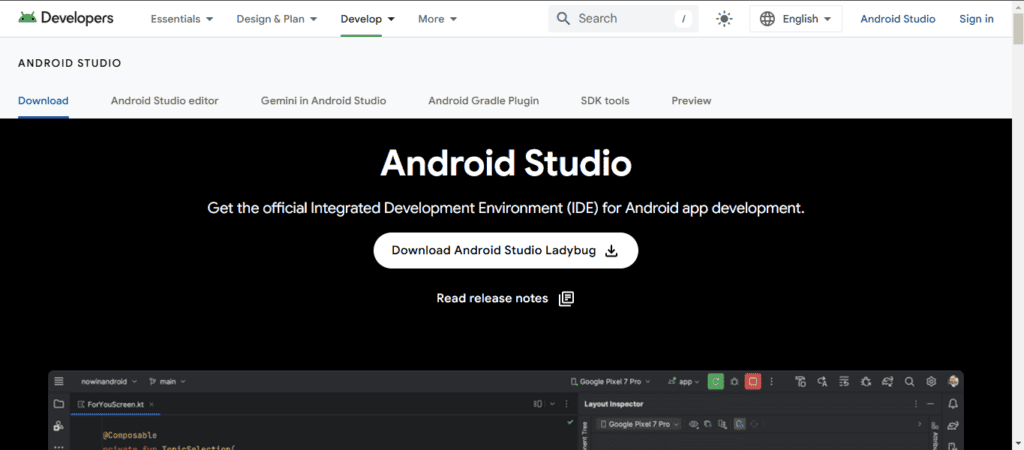
You will also need to download and install an Integrated Development Environment (IDE). We will be using Android Studio on a Windows OS. However, feel free to use Visual Studio Code (VS Code), IntelliJ IDEA or any other IDE you prefer. The Android Studio version we will be using is 2024.2.1 (Ladybug), but any later version should be acceptable.
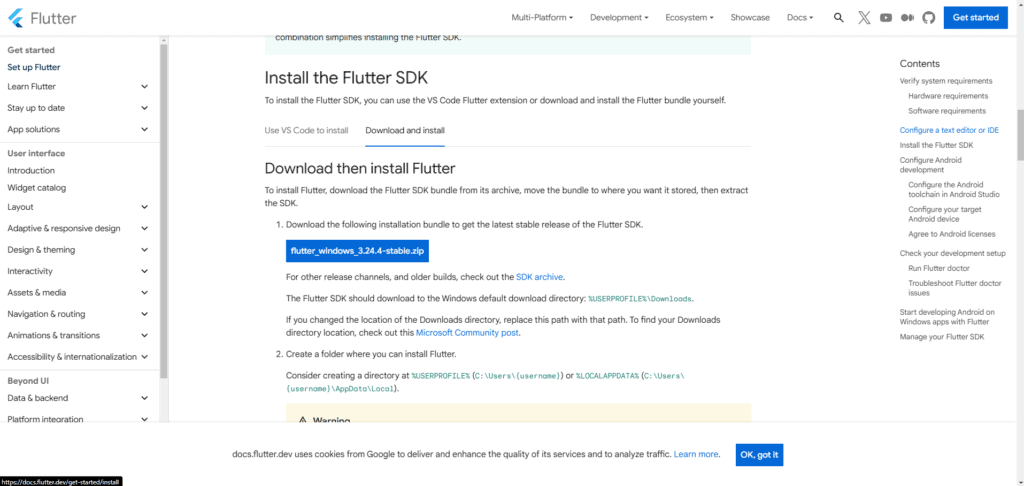
Next you’ll need to download and install the Flutter Software Development Kit (SDK) for your OS, which in our case is Windows. Go to docs.flutter.dev/get-started/install and follow the instruction to download and install the Flutter SDK for windows.
Now open Android Studio, select plugins and search for and install the Flutter plugin.

Installing the Flutter plugin should also install the Dart plugin. However if it doesn’t, search for and install it as well.
Once both plugins are installed you will need to restart Android Studio to activate the changes from the plugins. Once restarted you should now see the New Flutter Project button as shown below

Create a new project
Click New Flutter Project. You will then see the following screen.

Make sure Flutter is selected and click next.
You will need to provide a name for your project. We will call it first_flutter_app.

Then click on the create button to create the project.
Understanding the project structure
Once the project is created you should see the following window.

Let’s understand the basic structure of the project.
android: This folder contains android code and uses Gradle to manage dependencies.
ios: This folder contains iOS code and uses Cocoapods to manage dependencies.
assets: This is where you can store assets like images, JSON files, fonts.
lib: This folder is where the dart code for your app will be; dependencies are managed through pub with the files pubspec.yaml and pubspec.lock. The file main.dart is where the entry point of the app.
When creating a new project you should see the file main.dart open with the following default code. It creates a basic counter app.
import 'package:flutter/material.dart';

void main() {
  runApp(const MyApp());
}

class MyApp extends StatelessWidget {
  const MyApp({super.key});
  @override
  Widget build(BuildContext context) {
    return MaterialApp(
      title: 'Flutter Demo',
      theme: ThemeData(
        colorScheme: ColorScheme.fromSeed(seedColor: Colors.deepPurple),
        useMaterial3: true,
      ),
      home: const MyHomePage(title: 'Flutter Demo Home Page'),
    );
  }
}

class MyHomePage extends StatefulWidget {
  const MyHomePage({super.key, required this.title});

  final String title;

  @override
  State<MyHomePage> createState() => _MyHomePageState();
}

class _MyHomePageState extends State<MyHomePage> {
  int _counter = 0;

  void _incrementCounter() {
    setState(() {
      _counter++;
    });
  }

  @override
  Widget build(BuildContext context) {
    return Scaffold(
      appBar: AppBar(
        backgroundColor: Theme.of(context).colorScheme.inversePrimary,
        title: Text(widget.title),
      ),
      body: Center(
        child: Column(
          mainAxisAlignment: MainAxisAlignment.center,
          children: <Widget>[
            const Text(
              'You have pushed the button this many times:',
            ),
            Text(
              '$_counter',
              style: Theme.of(context).textTheme.headlineMedium,
            ),
          ],
        ),
      ),
      floatingActionButton: FloatingActionButton(
        onPressed: _incrementCounter,
        tooltip: 'Increment',
        child: const Icon(Icons.add),
      ),
    );
  }
}
Basic Flutter widgets
let’s understand what is written.
import 'package:flutter/material.dart';The first line imports the material.dart library. This library contains all the widgets with Google’s Material Design components.
void main() {
  runApp(const MyApp());
}
the runApp() function is called inside main() and passed MyApp(). runApp() is a function that Inflates the given widget and attach it to the screen.
class MyApp extends StatelessWidget {
  const MyApp({super.key});

  @override
  Widget build(BuildContext context) {
    return MaterialApp(
      title: 'Flutter Demo',
      theme: ThemeData(
        colorScheme: ColorScheme.fromSeed(seedColor: Colors.deepPurple),
        useMaterial3: true,
      ),
      home: const MyHomePage(title: 'Flutter Demo Home Page'),
    );
  }
}
Our first widget, the MyApp class, is a stateless widget. A stateless widget is a widget that doesn’t change it’s content after it’s created. Inside the build() function the MaterialApp widget is returned.
MaterialApp is the root of your application. Inside MaterialApp, you’ll see title, theme, and home.
title: This is where you set the title of the app. It’s a one line description used by the device to identify the app for the user
theme: This is where we set the theme of our app. Things like the app’s primary color, color scheme, font and more can be set here.
home: This is where we set the first screen that that is displayed first when the application is started. In code snippet above we set it to the widget MyHomePage().
class MyHomePage extends StatefulWidget {
  const MyHomePage({super.key, required this.title});

  final String title;

  @override
  State<MyHomePage> createState() => _MyHomePageState();
}

class _MyHomePageState extends State<MyHomePage> {
  int _counter = 0;

  void _incrementCounter() {
    setState(() {
      _counter++;
    });
  }

  @override
  Widget build(BuildContext context) {
    return Scaffold(
      appBar: AppBar(
        backgroundColor: Theme.of(context).colorScheme.inversePrimary,
        title: Text(widget.title),
      ),
      body: Center(
        child: Column(
          mainAxisAlignment: MainAxisAlignment.center,
          children: <Widget>[
            const Text(
              'You have pushed the button this many times:',
            ),
            Text(
              '$_counter',
              style: Theme.of(context).textTheme.headlineMedium,
            ),
          ],
        ),
      ),
      floatingActionButton: FloatingActionButton(
        onPressed: _incrementCounter,
        tooltip: 'Increment',
        child: const Icon(Icons.add),
      ), // This trailing comma makes auto-formatting nicer for build methods.
    );
  }
}
The class MyHomePage is a stateful widget. A stateful widget is a widget hat can change it’s appearance and behavior based on how you interact with it or when it receives data. The createState() function returns the state for widget, _MyHomePageState.
The Scaffold widget provides the basic Material Design visual layout structure. It is designed to be a top level container for a MaterialApp.
Scaffold has various properties, including appBar, body, and floatingActionButton. The AppBar widget creates an app bar. Center and Column are some of the many layout widgets. The FloatingActionButton creates a circular floating action button.
Run the app
Now that you have built your first app let’s run int on a virtual device or emulator.
If look on the sidebar menu on the right you will see the device manager.
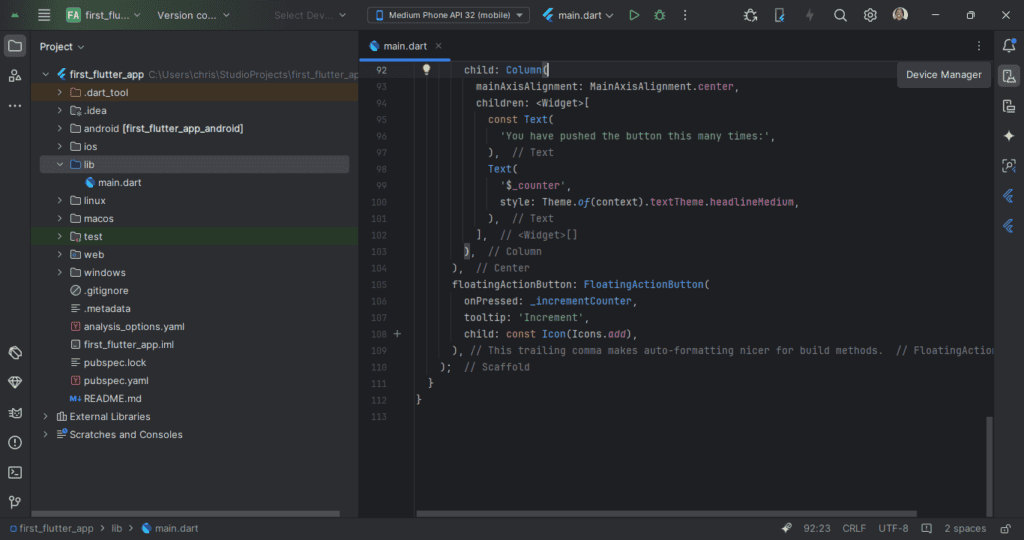

I have already created a device but if you don’t have one, you can click on the + button on the right and follow the steps to create one
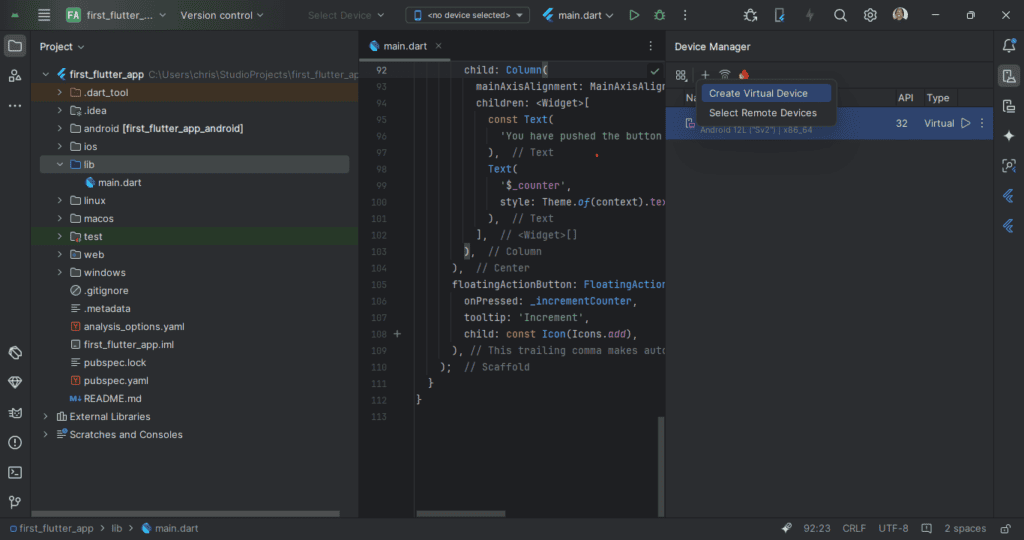
Once you have a virtual device it you should appear in your device manager. Click on the start Button to launch the device.
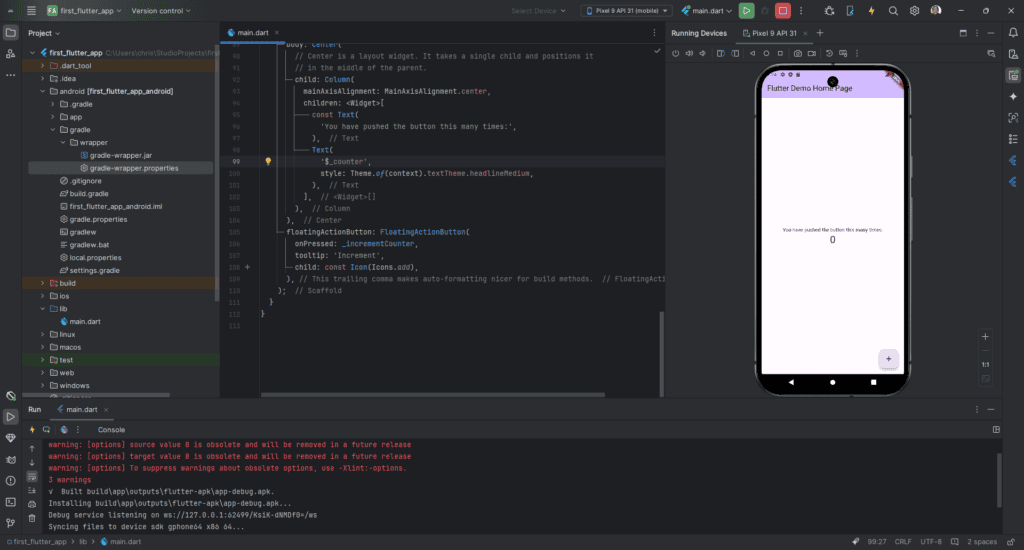
You should now see an emulator. Now click on the run button at the top to run the app on the emulator.
Conclusion
And that’s it! You have built and run your first app with Flutter!
In this blog post you have learned how to set up the Flutter environment, create a new project, understand the project structure, learned basic Flutter widgets, and how to run your app.
I hope this has helped you in your exploration of Flutter!

